Adding Glyphs to an Arabic Font
Introduction
In some cases a font may lack a glyph that is essential for its use in your application. Arabic fonts present special issues here, because the shape of the glyph depends not only on its position in the word, but also on the attributes of the letter itself. Thus, using the nonsense sequence babab, the letter beh has three different shapes depending on whether it comes initially, medially, or finally. However, using the nonsense sequence dadad, the letter dal has only one shape, no matter where it occurs in the word.
Fonts under open licenses (e.g., GPL or OFL) allow the user to make modifications. If you adapt a font that was originally under an open license and then distribute it, you must retain the original author’s copyright notices and licensing information, although you can append a note at the end of the copyright notice covering your contribution.

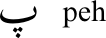
This chapter walks through adding a glyph to an Arabic font. The font we will use is Graph, and the glyph we will add is peh (U+067E), which does not occur in Arabic itself, but designates p in some languages for which Arabic script is used. (For a full listing of the glyphs available for Arabic script, see the Unicode charts.)
Make a working copy of the font
Download the font from the webpage and unzip it. Launch FontForge and load the font. Save it as an sfd file, editing the suggested name to read GraphNew.sfd before saving.
Rename the font
Why should I rename the font?
If you do not rename the font, your adapted font will not install separately from the original — you will have to uninstall the original font first. It is also sensible to rename the font if you are going to distribute your adaptations — if the original author of the font has reserved the font name under the Reserved Font Name (RFN) mechanism, that original name can only be used with the original author’s version of the font.
Change the name data
Select Element > Font Info, and in the PS Names panel, change Fontname, Family Name, and Name For Humans to GraphNew.
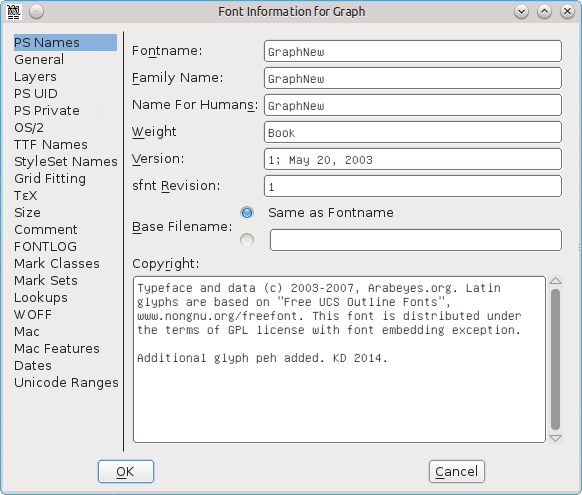
If desired, you can place an ‘Additional glyphs added by’ message after the text already in the entry for Copyright.
In the TTF Names panel, the names for Family and Fullname are taken from the PS Names entries, and should already be showing GraphNew (you cannot edit them directly). Change the entries for Preferred Family and Compatible Full to GraphNew. These name changes will now allow you to install this font alongside the original one if you wish.
If desired, you can place an ‘Additional glyphs added by’ message after the text already in the entry for Designer.
Click OK to save these changes. You will get a message about generating a new UniqueID (XUID) for the font — click Change.
Add the glyph for the isolated form of peh
Go to the Arabic section of the font chart: select View — Go to, click the dropdown box and select Arabic, then click OK.
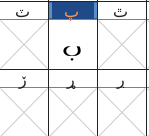
Clicking on a cell in the font chart will show its Unicode number and name in blue at the top of the panel. Go to position 1662 , which will show in blue as 1662 (0x67e) U+067E “uni067E” ARABIC LETTER PEH. The cell below the reference glyph contains a grey X, showing that the font does not include this glyph.
![]()
We will make peh by copying beh (U+0628) and swapping its single dot for three dots.
Click on the beh cell (position 1576), then right-click and select Copy. Then right-click on the peh cell and select Paste. Now that beh is now copied into the peh cell, the next thing is to change the dot.
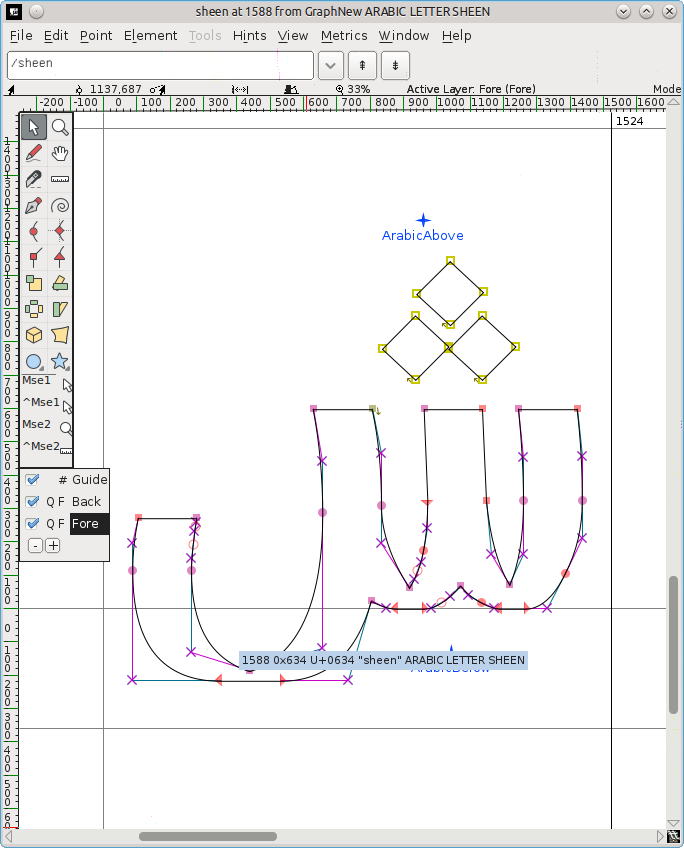
Find a glyph with three dots — sheen (position 1588, U+0634) will do. Double-click on the cell — this will open a glyph design panel. Press V to ensure the pointer tool (arrowhead) in the toolbox is selected, and press Z and enlarge the panel to give you a good view of the glyph.
Click and drag so that the nodes of the three dots above sheen change color from pink to beige. If you accidentally include or omit a node, deselect or select it by pressing Shift and clicking. Press Alt + C to copy.
Go back to the font chart and double-click on the peh cell — this will load peh into another tab in the glyph design panel, alongside the sheen tab.
Click and drag to highlight the dot below peh, then press Delete. Press Alt + V to paste in the three dots, which will likely appear above the body of peh. Leave the dot nodes highlighted so that you can invert and move them more easily.
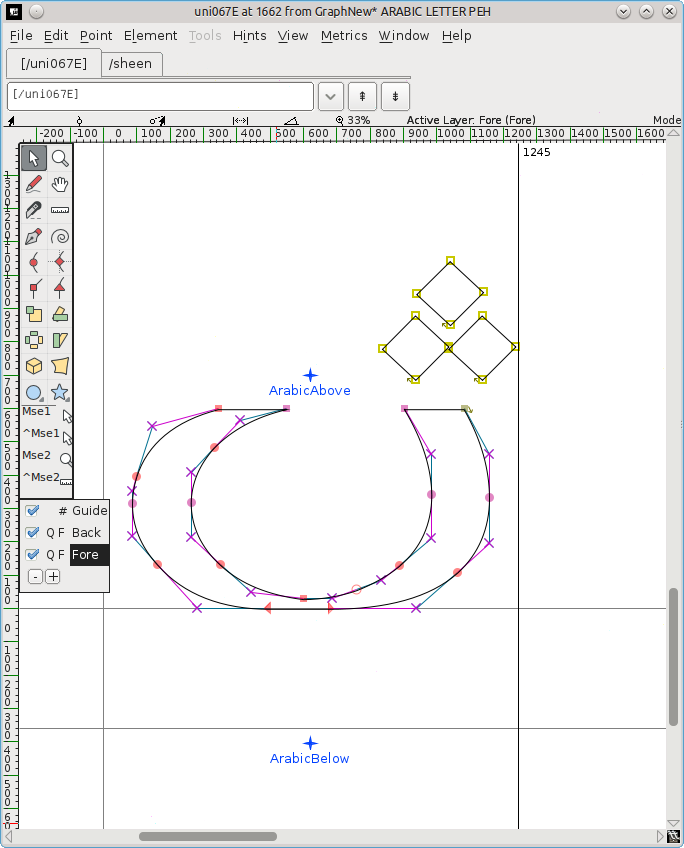
Invert the dots: select the flip tool (two triangles with a red dashed line between them) from the toolbox. (Alternatively, right-click in the middle of the dots, and select Flip the selection from the popup.) Click on one of the dot nodes and drag the mouse slightly left or right.
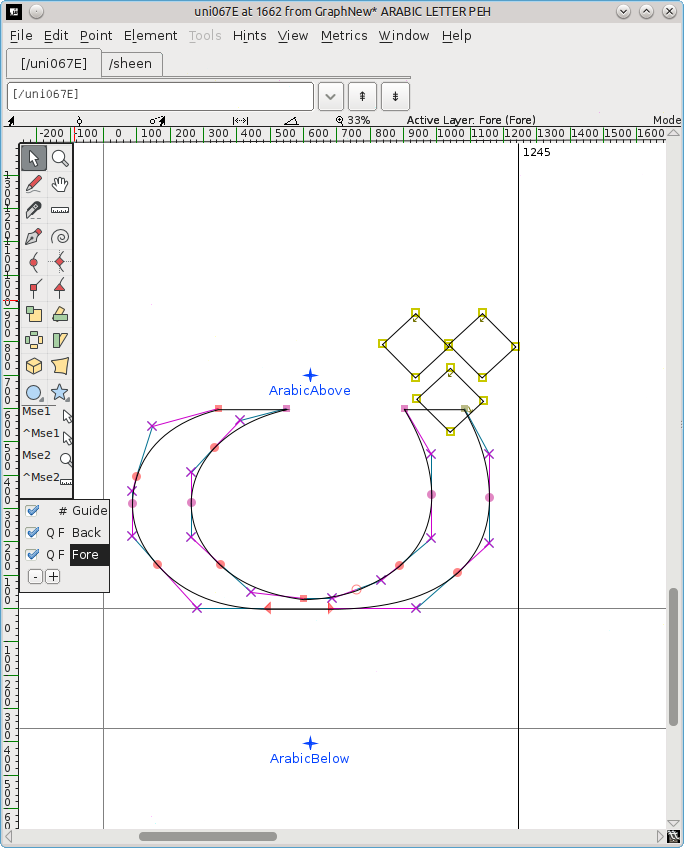
Move the inverted dots: press V to select the pointer tool again, click on one of the dot nodes, and drag them down below the body of the glyph. Position them centrally, above the ArabicBelow mark.
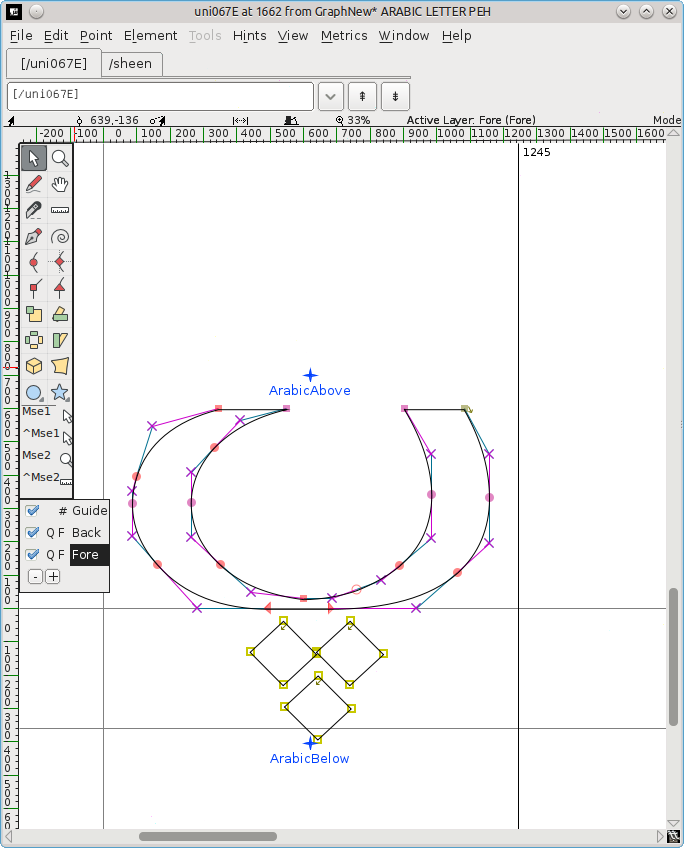
Close the glyph design panel. There should now be a new glyph for peh in the font chart. Save the adapted font (File > Save).

Add the glyphs for the connected forms of peh
However, this is only the isolated (standalone) form of the glyph. If you try to use your adapted font, you will find that initial, medial and final forms are not available. These have to be created separately.
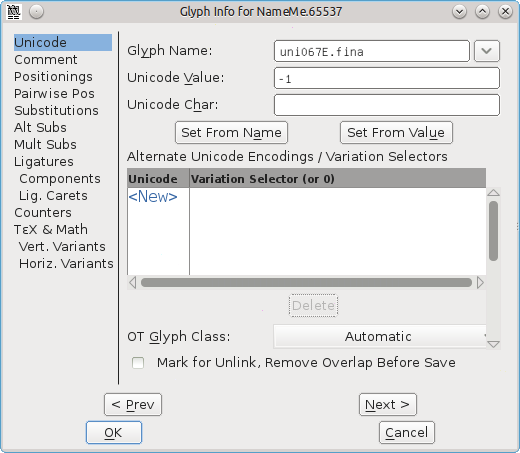
The[se] forms are built as unencoded glyphs (glyphs whose encoding is -1 in FontForge conventions). Th[ey] have no predefined slots.” (Khaled Hosny)
Select Encoding > Add Encoding Slots and enter the number of the glyphs you want — in this case, 3. FontForge will add the same number of slots at the very end of the font, and you will be moved there in the font chart. The last three cells (positions 65537, 65538, 65539) have a question mark as a reference glyph, and it is in those cells that you will add the unencoded glyphs by repeating the process above.

Note that if by mistake you start typing when the font chart still has focus, you get moved to the European section at the top. To get back to the bottom, select View > Go to, click the dropdown box and select Not a Unicode Character, and then click OK.
Create the final form
Roll the font chart up a bit until you come to a set of Arabic glyphs at position 65152 (U+FE80) onwards. At U+FE90 (position 65168) you will see a behfinal glyph — click on it and press Ctrl + C to copy it. Roll down to the third last cell in the chart (position 65537), click on it, and press Ctrl + V to paste in the behfinal glyph.
Right-click on the cell and select Glyph Info. The naming convention is to use the number of the isolated glyph + a suffix for the form, so change Glyph Name to uni067E.fina, and click OK. The question mark in the reference cell will change to peh.
Get the three dots: double-click on sheen (U+FEB5) to load it into the glyph design panel, select the three dots and press Ctrl + C.
Double-click on the new pehfinal to load it into the glyph design panel, click and drag to highlight the nodes of the dot and press Delete.
Ctrl + V to insert the three dots from sheen, flip them, and move them into position below the glyph body. Press Ctrl + S to save the revised font chart.
Create the initial and medial forms
Copy the initial form U+FE91 (position 65169) to the penultimate cell (position 65538), delete the single dot and paste in the three dots.
Right-click the cell, select Glyph Info, change Glyph Name to uni067E.init, and click OK.
Copy the medial form U+FE92 (position 65170) to the last cell (position 65539), delete the single dot and paste in the three dots.
Right-click the cell, select Glyph Info, change Glyph Name to uni067E.medi, and click OK.
Select File > Save to save the revised font chart.
Add the lookups
The isolated form has to be mapped (linked) to its initial, medial and final forms.
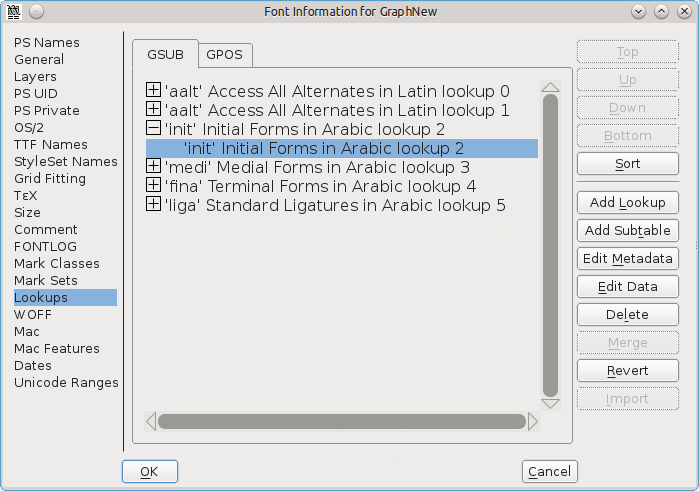
Select Element > Font Info > Lookups.
Click on the + beside the entry ‘init’ Initial Forms in Arabic lookup 2. This will open a submenu of the same name. Click on this submenu.
The Edit Data button on the right will now become available — click it.
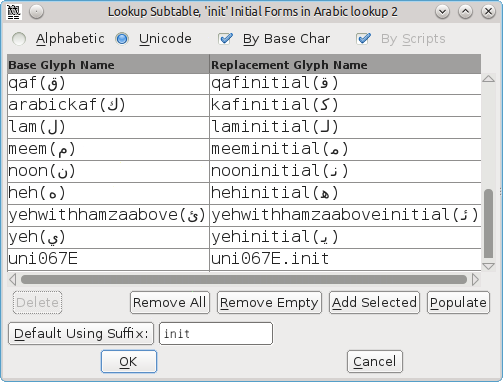
In the Lookup Subtable panel that pops up, ensure that the Unicode button is checked. Roll the list of characters down until you come to the end.
In the box beside Default Using Suffix, enter the relevant suffix (in this case, init), and then click Default Using Suffix.
A new mapping will be added to the list of characters, from uni067E (the isolated form of peh) to uni067E.init (the initial form). Click OK.
Do the same for the submenus under the entries ‘medi’ Medial Forms in Arabic lookup 2 and ‘fina’ Terminal Forms in Arabic lookup 2, choosing medi and fina as the relevant suffix.
Click OK again to close the panel, and save the font chart (Ctrl + S).
Note that Default Using Suffix only seems to work on glyphs in the Unicode 06 (Arabic) block — glyphs in Unicode 07 (Arabic Supplement), e.g. ain with two dots may have to be added manually by clicking the line marked New and typing in the names.
Generate the adapted font
Select File > Generate Fonts.
In the dropdown showing PS Type 1 (Binary), select TrueType, and check that the filename reads GraphNew.ttf.
Navigate to where you want to save the font, and then click Generate. Click Yes and Generate to the two information messages that come up.
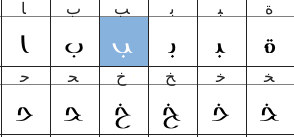
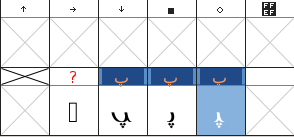
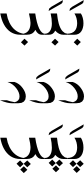
You can then use your normal font installation procedure to install the adapted font. The new glyph peh can then be used alongside the existing glyphs in the same nonsense examples as at the beginning of this chapter:
Note that if you are using a font in LibreOffice and make changes to that font, you need to restart LibreOffice to have it see any changes — otherwise it will use the previous version of the font, and not the one with the new changes.
Thanks to Khaled Hosny for his advice on using FontForge to edit Arabic glyphs.
Further reading
- This thread on improved Arabic auto-hinting has a tip about how to draw the overlapping parts of Arabic glyphs.